
Lakewood Ranch pavers: re-sand, re-seal, or full restoration?
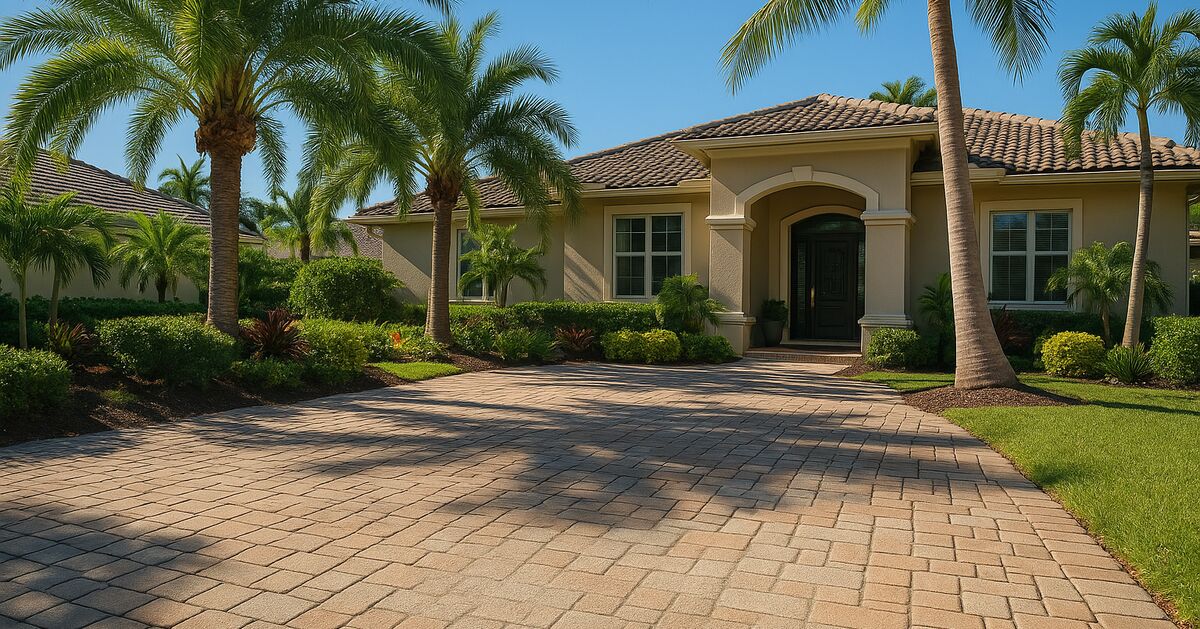
Your pavers are trying to tell you something. The question is whether they're asking for a quick tune-up or a full overhaul - and getting that wrong costs real money.
Homeowners across Lakewood Ranch deal with this decision every few years. The community's CDD-maintained streetscapes, the afternoon thunderstorms that roll in off the Gulf between June and September, and the intense UV index that Southwest Florida carries nearly year-round all push pavers through a faster wear cycle than most people expect when they first install them. The good news is that the signs your pavers are sending are readable once you know what to look for. The even better news is that the fix is almost always straightforward - as long as you do things in the right order.
This post walks you through exactly how to diagnose what your pavers actually need, and why sequence matters just as much as the work itself.
Start with the joint sand - it tells you more than the surface does
The sand packed between your paver joints is the unsung structural element of the entire system. It locks each paver in place, distributes load, and prevents individual stones from rocking, shifting, or sinking at the edges. When that sand is compromised, nothing else you do to the surface will hold properly.
Stand over your driveway, walkway, or lanai and look closely at the joints. Here is what you are looking for:
- Gaps deeper than about a quarter inch. If you can see daylight or dark voids between pavers, the sand is gone.
- Ant hills or sandy mounds. Ants excavate joint sand to build colonies underneath. A surface that looks fine can have a completely hollow substrate just below.
- Rocking or clicking pavers. Step firmly on individual stones. Any movement means the joint sand is no longer doing its job.
- Erosion channels near downspouts or driveway edges. Water concentrates at these spots and washes sand out in streams, often leaving a visual trail of deposited sand on the driveway apron or lawn.
- Weeds growing in the joints. A weed rooted in a joint has already displaced the sand around it.
If you see any of these signs, re-sanding is the first step - not the last. Sealing over empty joints locks in nothing. The pavers will keep moving, the sealer will crack at every joint line within a season or two, and you'll be back to square one.
Our deeper breakdown of re-sanding versus polymeric sand before sealing covers the specific choice between regular silica sand and polymeric sand, which is worth understanding before you commit to either option.
Now read the surface: what the paver faces are telling you
Once you've assessed the joints, shift your attention to the paver faces themselves. You're looking for several different categories of wear, and each one points toward a different next step.
Fading and color loss
Lakewood Ranch pavers are exposed to an average UV index that rivals anywhere in the continental United States. The pigments in concrete pavers and the natural color of travertine or brick both bleach out over time. If your pavers look noticeably lighter or more washed-out than they did when installed, that is primarily a UV issue and it is exactly what sealing is designed to slow down. A quality penetrating or film-forming sealer with UV inhibitors can restore some depth to the color and dramatically slow future fading.
Fading alone, with joints that are otherwise in good shape, is one of the cleaner diagnoses: clean the surface well, confirm the joints are full, and seal.
Efflorescence - the white haze
That chalky white film that appears on pavers, especially after rain or irrigation, is efflorescence. It is calcium carbonate migrating out of the concrete body of the paver and depositing on the surface as water evaporates. It is not mold, and it is not residue from cleaning products. It is chemistry.
Sealing over active efflorescence is one of the most common mistakes homeowners and less experienced contractors make. The sealer traps the salts beneath a film, and within weeks you get milky white patches, hazing, or flaking sealer as the salts continue to push outward. Efflorescence has to be treated with an acidic efflorescence cleaner and fully flushed before any sealer goes down. This is a step, not a suggestion.
Organic staining - algae, mold, and mildew
The humidity in Lakewood Ranch and the surrounding areas of Sarasota and Bradenton creates near-perfect conditions for algae and mildew growth on any shaded or consistently damp paver surface. If your pavers have green, black, or gray biological growth, that organic matter has to be killed and removed before sealing. Sealing over live algae does not kill it. The algae continues to metabolize beneath the sealer, the film lifts, and you end up with a sealed surface that looks worse than the unsealed one did.
A proper pre-seal cleaning involves a biocide treatment, pressure washing at the correct PSI (high enough to clean, low enough not to damage the paver face or blast out joint sand), and allowing the surface to dry completely before sealer application. In Southwest Florida's humidity, that drying window matters more than most people realize. Our post on how Gulf Coast heat and humidity affect paver sealer cure time goes into that in detail.
Existing sealer that is failing
This one requires its own conversation. If your pavers were sealed before and that sealer is now peeling, flaking, clouding, or trapping moisture (look for white patches that appear after rain and then slowly clear), you are not looking at a re-seal job. You are looking at a stripping job first.
Applying fresh sealer over failing sealer is the equivalent of painting over peeling paint. The new coat has nothing solid to bond to, and it will begin failing at the same rate as the layer beneath it. Old sealer has to come off before new sealer goes on. The post on when old paver sealer clouds, peels, or traps moisture explains the stripping process and why it cannot be skipped.
When is it actually "full restoration" territory?
Re-sanding and re-sealing together handle the majority of paver situations we see in Lakewood Ranch. But sometimes the pavers need more than that. Full restoration typically means one or more of the following additional steps:
Re-leveling sunken or heaved sections. If individual pavers or entire sections have dropped or risen, the cause is almost always one of three things: poor base compaction during installation, tree root intrusion, or water erosion of the base material. Sand and sealer do not fix a structural base problem. The affected pavers have to be pulled, the base re-graded and compacted, and the pavers re-set. Skipping this and sealing over it just preserves the unevenness permanently.
Paver replacement. Cracked, chipped, or badly spalled pavers cannot be repaired with sealer. A sealer is a protective coating, not a filler or adhesive. If more than a handful of pavers are damaged, sourcing matching replacements and swapping them out before sealing gives you a uniform finished surface. This is especially worth doing before sealing because the sealer will slightly darken and enrich the color of every paver it touches, and a mismatched replacement paver set after the fact will stand out noticeably.
Deep cleaning beyond what pressure washing alone achieves. Rust staining from irrigation water (extremely common in the mineral-rich well water many Lakewood Ranch homes use for irrigation), oil stains on driveways, and heavy tannin staining from oak leaf debris all require specific chemical treatments. A pressure washer moves surface dirt; it does not lift bonded mineral or organic stains. Those treatments come before sealing.
The order matters - and here's why you cannot skip steps
This is the part most homeowners get wrong, and it is worth spelling out plainly.
The correct sequence is always:
- Assess and address any structural issues (sunken pavers, failed base)
- Replace broken or badly damaged individual pavers
- Deep clean the surface, treating stains, efflorescence, and organic growth specifically
- Strip existing sealer if it is failing
- Re-sand the joints, choosing the right sand type for your situation
- Allow everything to dry completely
- Apply sealer
Each step is the foundation for the one that follows. If you seal before re-sanding, the joints flex and crack the sealer film. If you re-sand before cleaning, the cleaning process can disturb the new sand. If you seal before stripping old sealer, you are applying to an unstable substrate. If you seal before the surface is fully dry, you trap moisture beneath the film and create exactly the clouding and peeling problems you were trying to prevent.
The companies that skip steps are not doing you a favor - they're just doing the job faster. The results show it within a season.
What Lakewood Ranch conditions specifically throw at your pavers
Living in a master-planned community like Lakewood Ranch has specific implications for paver wear that are worth keeping in mind.
Many Lakewood Ranch driveways and walkways fall under CDD or HOA aesthetic standards, which means the condition of your pavers is not entirely a personal preference. A surface that has gone from sealed to visibly worn, stained, or weed-invaded can trigger community notices. Staying ahead of the maintenance cycle, rather than reacting to it, is both easier and less expensive.
The irrigation systems common throughout the community, fed by reclaimed water or well water with high mineral content, are a significant driver of efflorescence and rust staining. If your pavers are downhill from any irrigation head spray, you can count on mineral deposit buildup as a recurring maintenance item.
The afternoon storm season also concentrates a lot of water runoff across paver surfaces in a short period. That volume of water, moving fast, is what washes joint sand out so efficiently. Sealed pavers with properly packed joints handle that runoff better because the sealer slows water penetration into the joint and the packed sand resists the hydraulic pressure better than loose sand does.
Our paver sealing and restoration services in Lakewood Ranch cover everything described above, and we work regularly throughout the broader communities of Venice, Nokomis, Palmer Ranch, and Parrish for homeowners dealing with the same conditions.
A quick self-assessment checklist
Walk your pavers with this list in hand:
- Are joints visibly empty, or do they have active ant activity? Start with re-sanding.
- Are individual pavers rocking or moving? Address the base before anything else.
- Is there a chalky white film? Treat efflorescence before sealing.
- Is there green, black, or gray biological growth? Deep clean with biocide treatment first.
- Is existing sealer peeling, flaking, or showing milky patches? Strip before re-sealing.
- Are any pavers cracked or badly chipped? Replace before sealing.
- Are pavers faded but joints full and surface clean? You may be ready to seal.
Most Lakewood Ranch driveways and pool decks we assess need at least two of these steps. A very well-maintained surface that has been on a regular sealing schedule might just need a fresh coat. A surface that has gone five or more years without attention typically needs the full sequence.
When to call a professional versus doing it yourself
Re-sealing a small patio or walkway is within reach for a motivated DIYer who has the right products and is willing to do the prep work properly. But driveways, pool decks, and large entertainment areas have enough square footage that product selection, application rate, and drying windows become genuinely consequential. An uneven sealer application on a large surface - too thick in some areas, missed in others - shows clearly in raking light and cannot be easily corrected without stripping.
If you have failing sealer, active efflorescence, or a surface that needs leveling work, those are tasks where professional equipment and experience pay for themselves in the finished result.
You're welcome to visit our FAQ page for answers to common questions, or get in touch if you'd like us to walk your specific surface and give you a plain-spoken assessment of exactly what it needs and in what order.
Your pavers are a significant part of your home's curb appeal and an investment worth protecting. The diagnosis is half the job - do it carefully, and the rest follows logically.
Get started
Request a free quote
Tell us what you need. No pressure, and a real person gets right back to you.