
Can you pressure wash pavers before sealing them in Florida?
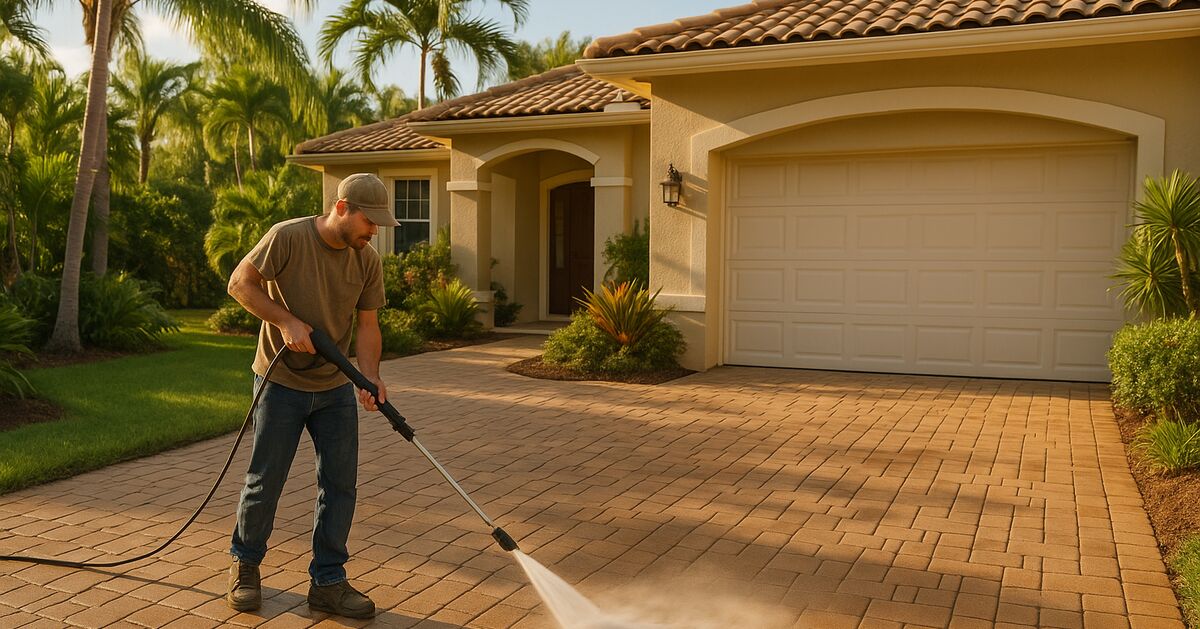
Pressure washing your pavers before sealing them is not optional - it is the single most important step that determines whether your sealer lasts two years or seven. Homeowners across Lakewood Ranch, Sarasota, and Venice ask us constantly: "Can I just rent a pressure washer from the hardware store and do it myself?" The honest answer is: yes, but there is a lot more to it than pulling a trigger.
Why cleaning matters more than the sealer itself
Sealer is not a magic coat that hides dirt. It is a penetrating or film-forming product that bonds directly to the paver surface. If anything sits between the sealer and the paver - algae, sand, efflorescence, old sealer residue, or even invisible mold spores - the bond fails. You will see peeling, bubbling, cloudy patches, or sealer that wears off in high-traffic zones within a single rainy season.
Southwest Florida's humidity and heat create the perfect conditions for biological growth. A paver that looks clean from the driveway might be coated in a thin biofilm of algae or mold that you cannot see with the naked eye. That invisible layer is enough to prevent proper adhesion. This is why our paver sealing and restoration services always include a thorough professional clean before any product ever touches the surface.
What pressure washing actually does to the paver surface
When done correctly, pressure washing accomplishes several things at once:
- It removes loose sand, dirt, and organic debris sitting on top of the paver
- It blasts out algae, mold, and mildew that have taken root in the paver's pores
- It opens up the texture of the paver surface so the sealer can penetrate evenly
- It strips away any old, failing sealer that would otherwise prevent a fresh coat from bonding
When done incorrectly, pressure washing can:
- Blast joint sand out from between the pavers, destabilizing the entire installation
- Etch or pit softer travertine or limestone pavers permanently
- Drive mold deeper into pores rather than removing it
- Leave streaks and uneven texture that show right through a glossy sealer
The difference between those two outcomes usually comes down to three variables: the right PSI, the right nozzle angle, and the right cleaning solutions.
PSI, nozzle angle, and distance: the details that matter
For most concrete pavers - the kind you see in the majority of Bradenton and Parrish driveways and pool decks - a pressure washer running between 1,200 and 1,800 PSI is a reasonable starting point. Go above 2,500 PSI on standard concrete pavers and you risk surface erosion. For natural stone like travertine (very common in Sarasota and Palmer Ranch pool decks), stay closer to 800 to 1,200 PSI and keep the wand moving constantly.
Nozzle angle matters just as much as pressure. A 0-degree "pencil" nozzle is almost never appropriate for pavers. A 25-degree or 40-degree fan nozzle, held at a consistent distance of 6 to 12 inches from the surface, gives you cleaning power without concentrated damage. Always sweep in the direction of the joint lines, not across them, to avoid widening the gaps and flushing out too much joint sand.
Distance from the surface is the knob most DIYers forget to adjust. Getting too close - say, 2 or 3 inches - dramatically multiplies the effective pressure at the surface, even if your machine is set conservatively. Lift the wand, slow down, and let the water do the work.
Chemical pre-treatment: the step most homeowners skip
Pressure water alone does not kill algae and mold. It removes what is visible, but the root structure of biological growth (called hyphae in mold, and rhizoids in algae) can remain embedded in the paver's pores. Within a few weeks of sealing, those roots push back through, and you end up with green or black spots appearing under or through your brand-new sealer coat.
The correct process involves applying a diluted algaecide or a purpose-formulated paver cleaner before pressure washing, allowing it to dwell for 10 to 20 minutes, and then pressure washing to remove the dead biological matter along with the surface debris. For pool decks in Nokomis, Venice, and Wellen Park - where shade from screen enclosures keeps moisture trapped - we often recommend a second application of a post-wash antimicrobial treatment to slow regrowth before the sealer goes on. You can read more about tackling persistent algae and mold on pool deck algae and mold removal on the Gulf Coast.
Efflorescence - those chalky white deposits that appear on many pavers - requires an acid-based cleaner, not just pressure washing. Efflorescence is mineral salt migrating up from the base material beneath the paver. Pressure water will not remove it; you need a pH-adjusted efflorescence remover applied carefully, neutralized, and then rinsed thoroughly before sealing.
How long do pavers need to dry before sealing?
This is where Southwest Florida's climate throws a wrench into the process. After pressure washing, pavers need to be completely dry before sealer is applied. Residual moisture trapped beneath a film-forming sealer causes the white, milky haziness that homeowners sometimes notice after a DIY sealing job. It can also prevent penetrating sealers from reaching full depth.
In the heat of summer in Sarasota or Lakewood Ranch, clean pavers can dry in as little as 24 hours on a sunny day with low humidity. During our rainy season (roughly June through September), a thorough dry-out can take 48 to 72 hours, especially for pavers in shaded areas or those with dense polymeric sand joints that hold moisture longer. We always check moisture content with a concrete moisture meter before sealing - a step that is easy to skip but protects the entire job.
For homeowners who just had new pavers installed, the drying question is even more involved. There is a separate waiting period before you should seal at all. Our guide on how long to wait before sealing new pavers in Florida covers that in detail.
Replacing joint sand after washing
Aggressive pressure washing will flush out joint sand. This is not necessarily a disaster, but it does need to be addressed before sealing. Loose pavers and wide open joints allow the sealer to run straight through to the base rather than coating the paver surface, which wastes product and leaves the installation vulnerable to weed growth and ant activity.
After washing, inspect every joint. If you can see gaps wider than about 3mm, or if pavers are rocking underfoot, add polymeric sand before sealing. Polymeric sand is activated with water and then hardens as it cures, locking joints firmly. Allow the polymeric sand to cure fully - at least 24 hours, often more in humid conditions - before applying sealer over the top. Sealing over uncured polymeric sand traps moisture in exactly the spot you least want it.
Can you do all of this yourself?
Technically, yes. You can rent a pressure washer, buy cleaning chemicals, purchase polymeric sand, and apply a sealer from a big-box store. Many homeowners do it, and some get decent results.
The honest truth is that the margin for error is narrow, especially in our climate. The wrong PSI strips joints and damages soft stone. Skipping the chemical pre-treatment leaves biological growth in place. Sealing before pavers are fully dry causes haziness that is difficult to reverse. Choosing the wrong sealer for your paver type or finish preference creates a look you are stuck with for years.
Our frequently asked questions page addresses a lot of the specific questions homeowners have about what can go wrong and how professional restoration differs from a DIY approach. If you are on the fence, it is worth a read before you commit to a rental.
What a professional process looks like from start to finish
When our team arrives at a home in Bradenton, Venice, or anywhere across our Southwest Florida service area, here is the actual sequence of steps before a single drop of sealer is applied:
- Pre-inspection - We assess paver type, current condition, joint integrity, presence of efflorescence or biological growth, and any prior sealer layers.
- Chemical pre-treatment - We apply the appropriate cleaner (algaecide, efflorescence remover, degreaser, or a combination) based on what we found in the inspection.
- Dwell time - We let the chemistry work. Rushing this step wastes the product.
- Pressure washing - We use calibrated equipment at the correct PSI for your specific paver material, with controlled nozzle angles to protect joints.
- Rinse and neutralization - Any acid-based cleaners are fully neutralized and rinsed so they cannot interfere with sealer adhesion.
- Joint sand assessment and repair - We replace any missing joint sand with polymeric sand as needed and allow it to begin curing.
- Moisture check - We confirm the pavers are dry enough to seal before we open a single container of product.
- Sealer application - Only then does the sealer go on, in the correct number of coats for the product and the traffic conditions.
This is not a one-hour job. A proper clean and seal on an average Lakewood Ranch driveway or Wellen Park pool deck typically takes most of a day when you include the chemical dwell time and between-coat drying periods.
Choosing the right sealer after all that work
Once your pavers are clean and dry, you still have a meaningful choice to make about the sealer itself. A wet-look (high-gloss) sealer will make colors pop and is popular for pool decks and entertainment areas. A natural-look or matte sealer preserves the original appearance without added sheen. Both protect against staining and UV fading, but they look completely different on the same paver. Our post on wet-look vs. natural paver sealer walks through the trade-offs in detail so you can make that decision before the crew shows up.
Ready to get your pavers properly cleaned and sealed?
The cleaning step is where most paver sealing jobs succeed or fail. Get it right, and a quality sealer will protect your investment for years through Florida's heat, humidity, and afternoon downpours. Get it wrong, and you will be peeling up a failed sealer coat before your next summer is out.
If you are in Sarasota, Bradenton, Venice, Nokomis, Palmer Ranch, Parrish, or Lakewood Ranch, we are happy to take a look and give you a straight answer about what your pavers actually need. Reach out to us to schedule a free assessment - no pressure, just an honest look at what will work best for your specific situation.
Get started
Request a free quote
Tell us what you need. No pressure, and a real person gets right back to you.